Choosing the Right Pot and Soil
When embarking on the journey of growing flowers and plants in pots, selecting the appropriate pot and soil is crucial for ensuring successful growth. The first consideration should be the size of the pot. Plants need ample space for their roots to expand; therefore, selecting a pot that is too small can restrict growth. A good rule of thumb is to choose a pot that is at least one size larger than the current container to facilitate healthy root development.
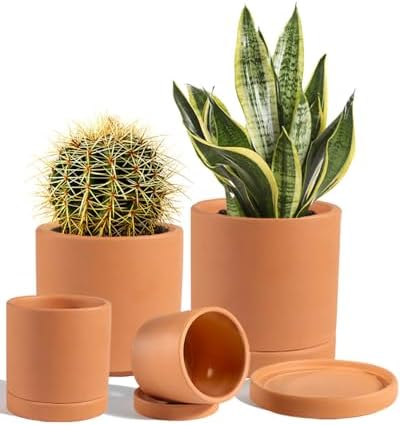
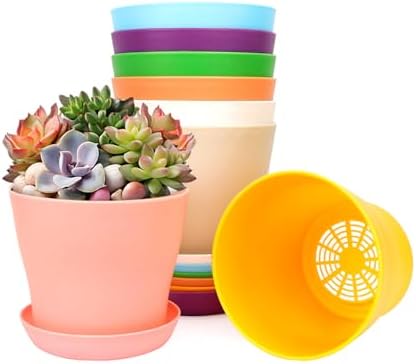
Next, the material of the pot must be taken into account. Common materials include plastic, ceramic, and terracotta, each offering distinct advantages. Plastic pots are lightweight and retain moisture well, making them a practical choice for beginners. Ceramic pots are aesthetically pleasing and offer good insulation for plant roots, while terracotta pots are breathable, allowing for adequate drainage which is essential for preventing root rot.


Drainage features are paramount in pot selection. Pots with drainage holes prevent excess water from accumulating, which can lead to waterlogged soil and subsequently, plant diseases. If you prefer decorative pots without drainage, consider using them as decorative covers for inner pots equipped with holes. This method allows for easy watering while maintaining the aesthetics of your space.
Equally important is the choice of soil. For container gardening, it is advisable to use high-quality potting mix rather than garden soil, which can become compacted and hinder drainage. Potting mix is formulated to provide the necessary drainage and aeration, essential components for thriving plants. It often consists of a blend of organic matter, perlite or vermiculite, and other amendments to create a nutrient-rich environment.
Finally, preparing your pot and soil prior to planting is essential. Ensure the pot is clean and free from residues that could harbor pests or diseases. Fill the pot with the potting mix, leaving enough space for your plant’s root ball, and mix in any additional nutrients if necessary. By carefully selecting the right pot and soil, you set the foundation for a flourishing container garden.
Planting Your Flowers and Plants
Transferring flowers and plants to pots requires a careful approach to ensure healthy growth. The process begins with selecting the right pot, which should have adequate drainage holes. This prevents waterlogging, a common cause of root rot. Once you have your pots ready, prepare to position your flowers or plants. Remove the plants from their original containers gently, supporting the base while avoiding excessive pulling on the stems to prevent damage.

Next, inspect the roots. If they appear tightly bound or circling the pot, gently tease them apart to encourage outward growth. The depth of planting is also critical; ideally, the root ball should sit just below the rim of the pot. This positioning not only allows for enough soil coverage around the roots but also ensures that water does not overflow, which can lead to soil erosion and nutrient loss.
When placing the plants in their new pots, add potting mix around the sides to secure the roots. Ensure that the soil is firm, but not compacted, as roots need oxygen to thrive. Fill in the gaps with potting soil, keeping the top of the root ball slightly higher than the surface of the soil to allow for settling. After this, it is essential to water the plants immediately, which helps settle the soil and reduces transplant shock. Use a gentle stream of water to avoid displacing the soil and roots.
During the initial growth period, monitor your plants closely. Water them regularly, assessing the soil moisture; it should remain consistently moist but not soggy. Depending on the species, fertilization may be necessary to provide adequate nutrients for young plants. Ensure they receive sufficient light, and consider rotating the pots to promote even growth. Following these steps will foster a nurturing environment for your flowers and plants, supporting their development in their new home.
Signs That Your Plant Needs a Bigger Pot
As a gardener, understanding the signs that indicate your plant has outgrown its current pot is essential for its health and longevity. One of the most prominent indicators is root binding. This occurs when roots become too numerous or too large for the available space, causing them to intertwine and restrict each other’s growth. You can check for root binding by gently removing the plant from its pot and inspecting the root system. If the roots have formed a dense mass that fills the pot and appears to circle at the bottom, it is time to consider transferring your plant to a larger container.
Another telltale sign of inadequate pot size is stunted growth. If your once-vibrant plant is showing reduced leaf size, fewer blooms, or overall sluggish growth, it may be crying out for more space. When plants are confined to pots that are too small, they cannot access the nutrients and moisture they need, leading to diminished vigor. It’s advisable to monitor your plants regularly for any changes in growth patterns, as these can indicate a pressing need to transition to a larger pot.
Soil degradation is also a critical factor that can signal the necessity of a larger pot. Over time, soil can deplete its nutrients, particularly if a plant has been in the same container for an extended period. You might notice a crust formation on the soil surface or a compacted texture that prevents water from infiltrating effectively. Regularly checking the quality and structure of your potting mix is essential to ensure your plants receive the nourishment they require. Generally, it’s recommended to reassess your plants and their pots every few months, or sooner if you notice any of these signs. Keeping a vigilant eye on plant health can promote optimal growth and a more flourishing garden.
Transferring to a Larger Pot: Step-by-Step Instructions
Transferring a plant to a larger pot is an essential task for its growth and overall health. To begin, ensure you have the necessary tools for this process. You will need a new pot that is appropriately sized, potting soil, a trowel, and potentially gardening gloves if you prefer added protection. Selecting a pot with proper drainage holes is crucial as it prevents water accumulation, which could lead to root rot.
Start the transfer by gently removing the plant from its existing pot. To do this, hold the base of the plant firmly and tilt the pot sideways, gently tapping the sides to loosen the soil. Carefully pull the plant out, supporting the root ball to keep it intact. If the roots appear overly compacted, gently tease them apart with your fingers. It’s important to handle the roots delicately, as any damage can lead to transplant shock.
Next, prepare the new pot. Place a layer of potting soil at the bottom and ensure it’s evenly distributed. This soil not only provides nutrients but also helps with water retention and drainage. Position the plant in the center of the pot, ensuring that the root ball is slightly below the rim of the pot to allow space for watering. Gradually add more potting soil around the roots, filling the gaps and gently pressing the soil down to eliminate air pockets without compacting it too much.
After transferring the plant, water it thoroughly to help settle the soil and reduce stress on the plant. It is also advisable to keep the plant in a shaded area for a few days to minimize exposure to direct sunlight, which may contribute to shock. Regular monitoring of moisture levels during the initial weeks is vital, as it will help the plant acclimatize to its new environment and promote healthy new growth.
Do not delay any longer and get started today. We offer a few items from our affiliate partner Amazon to help kick start your journey of growing flowers or plants in pots.